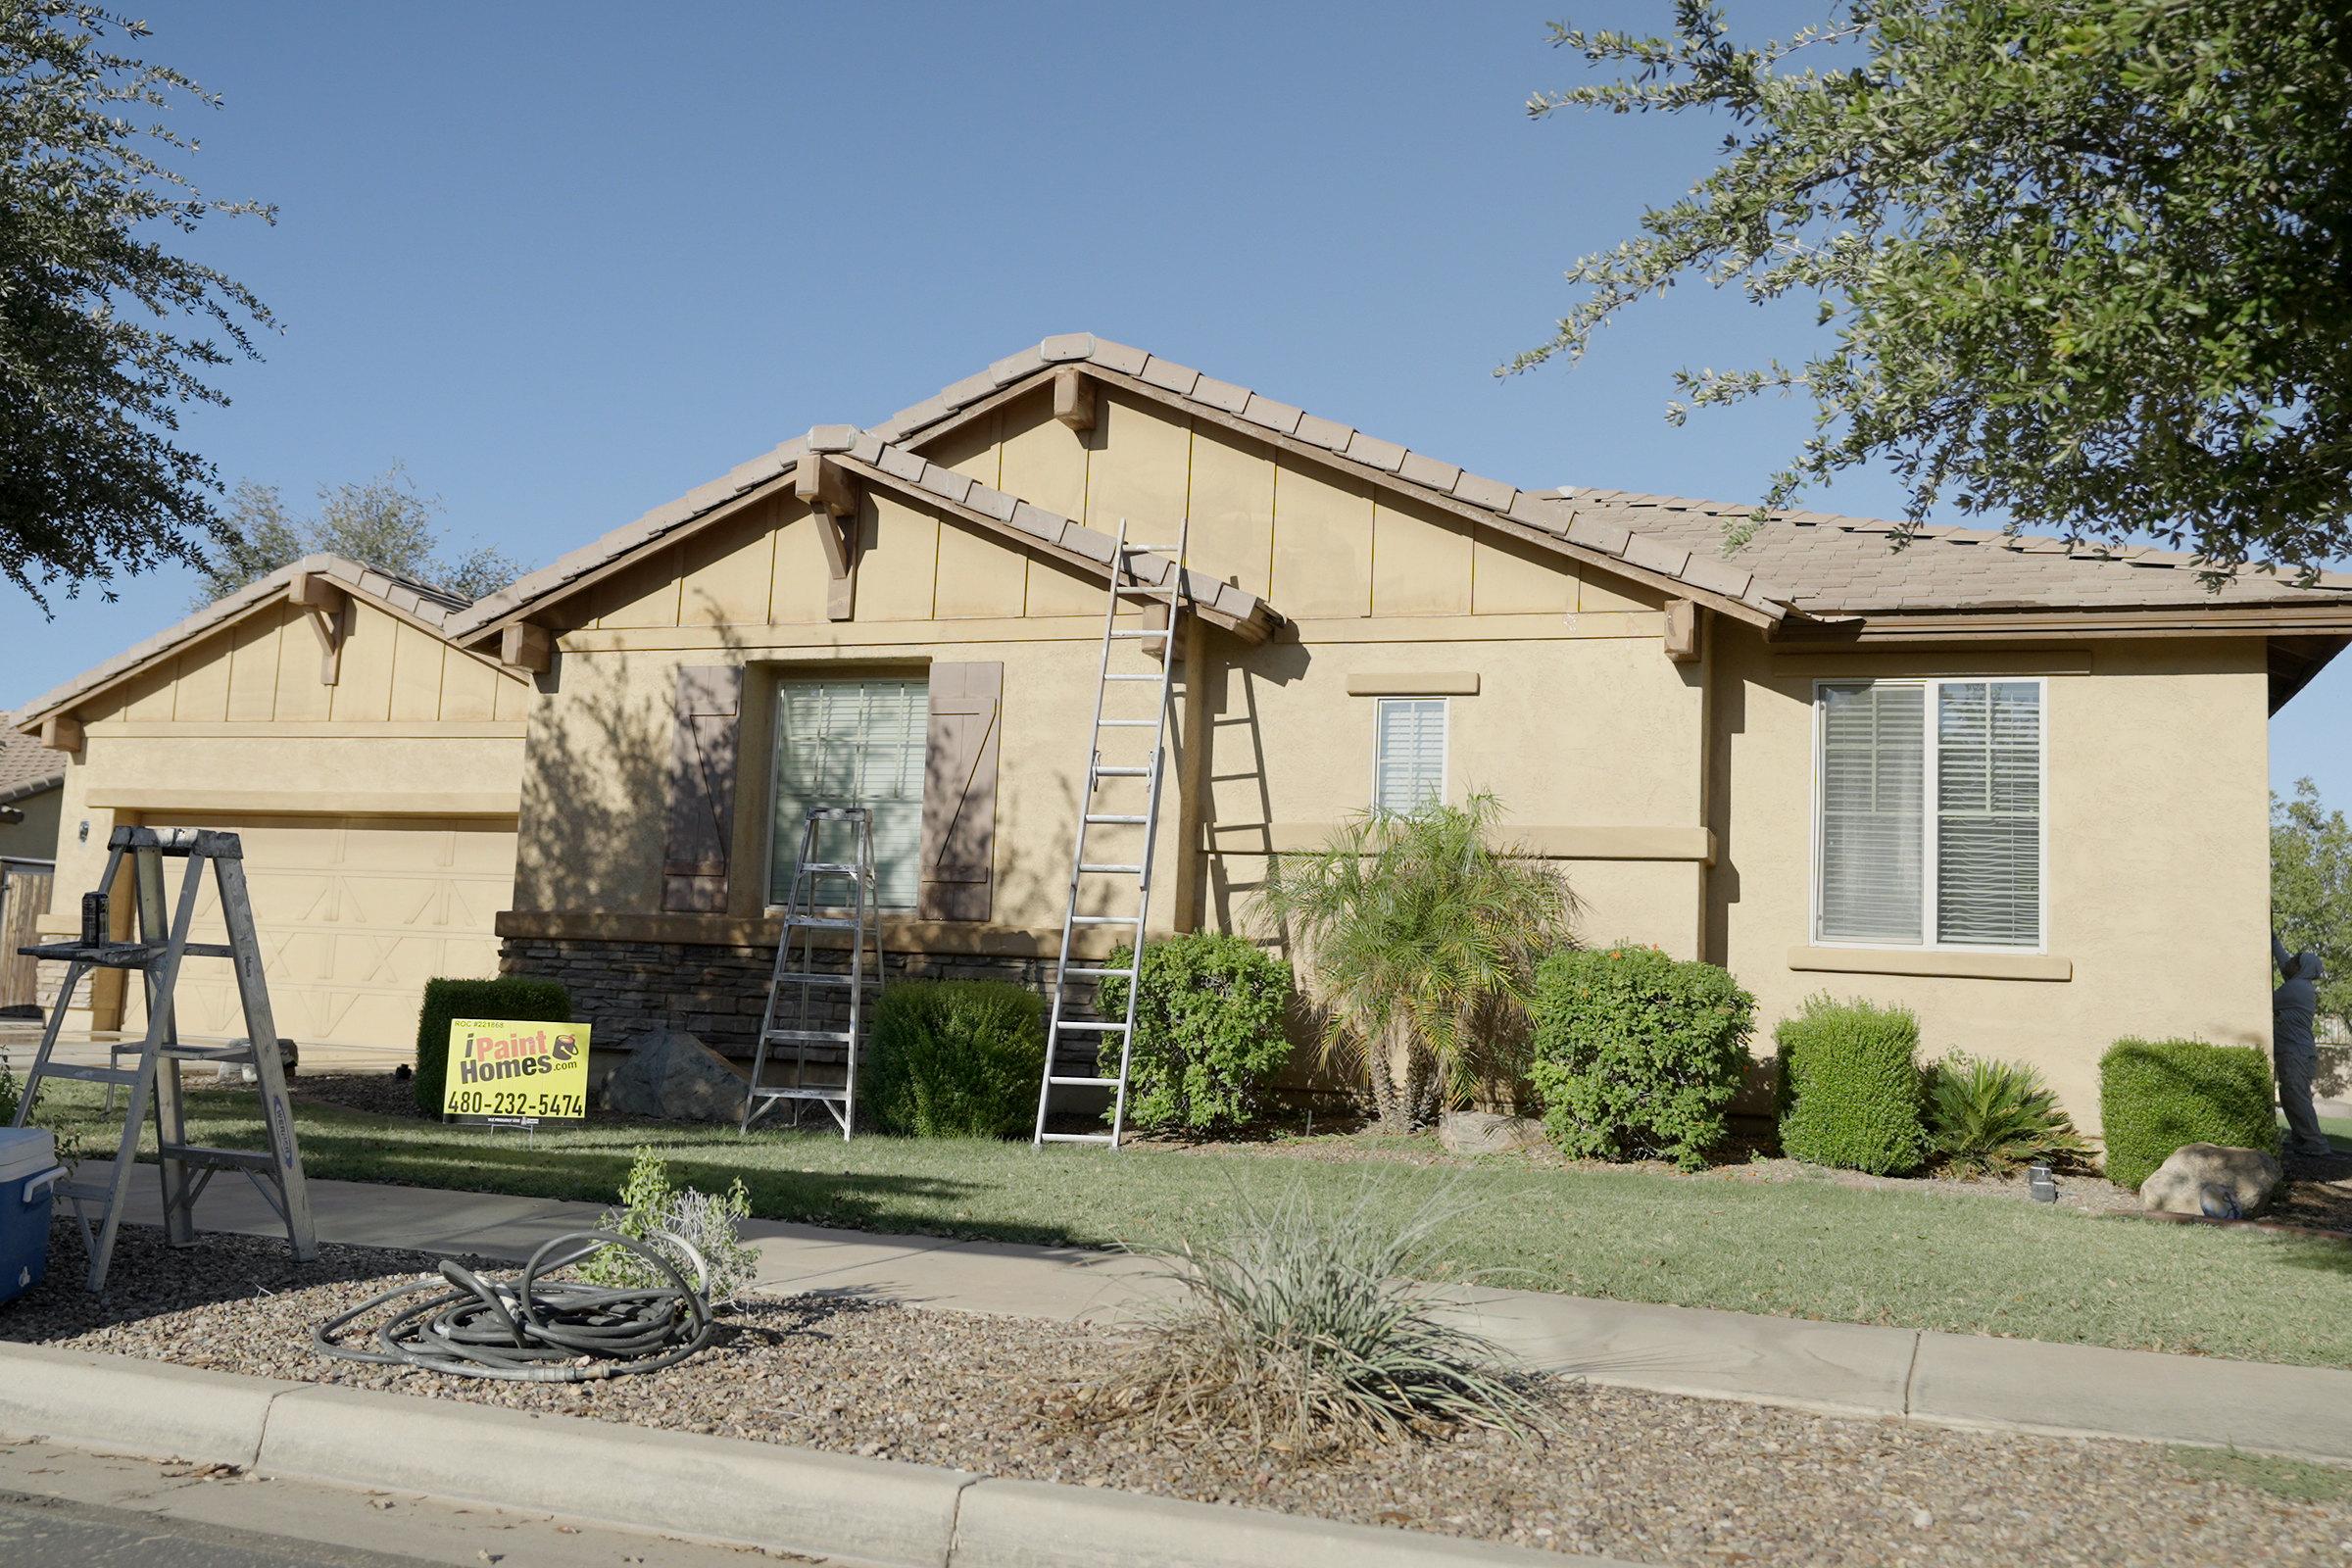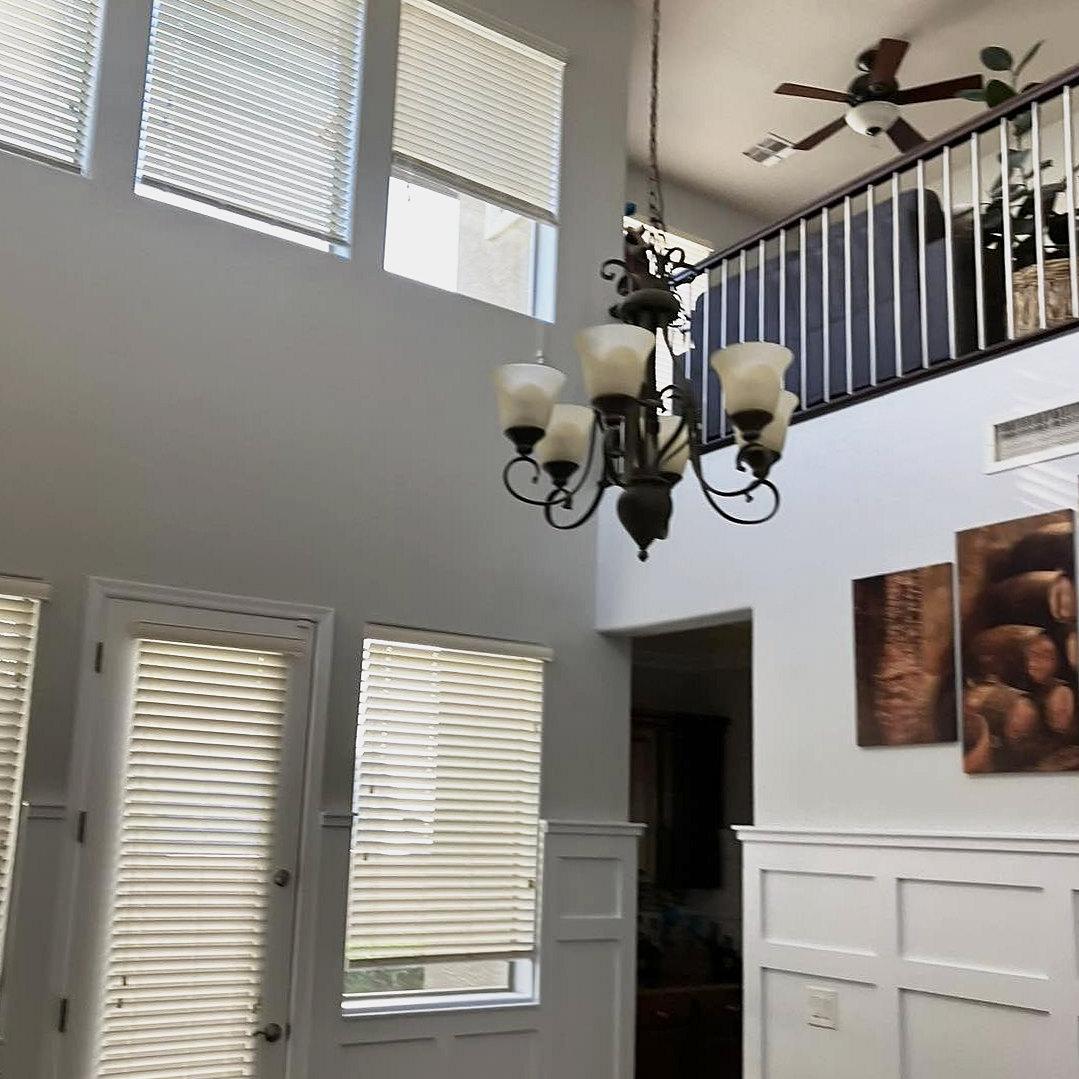
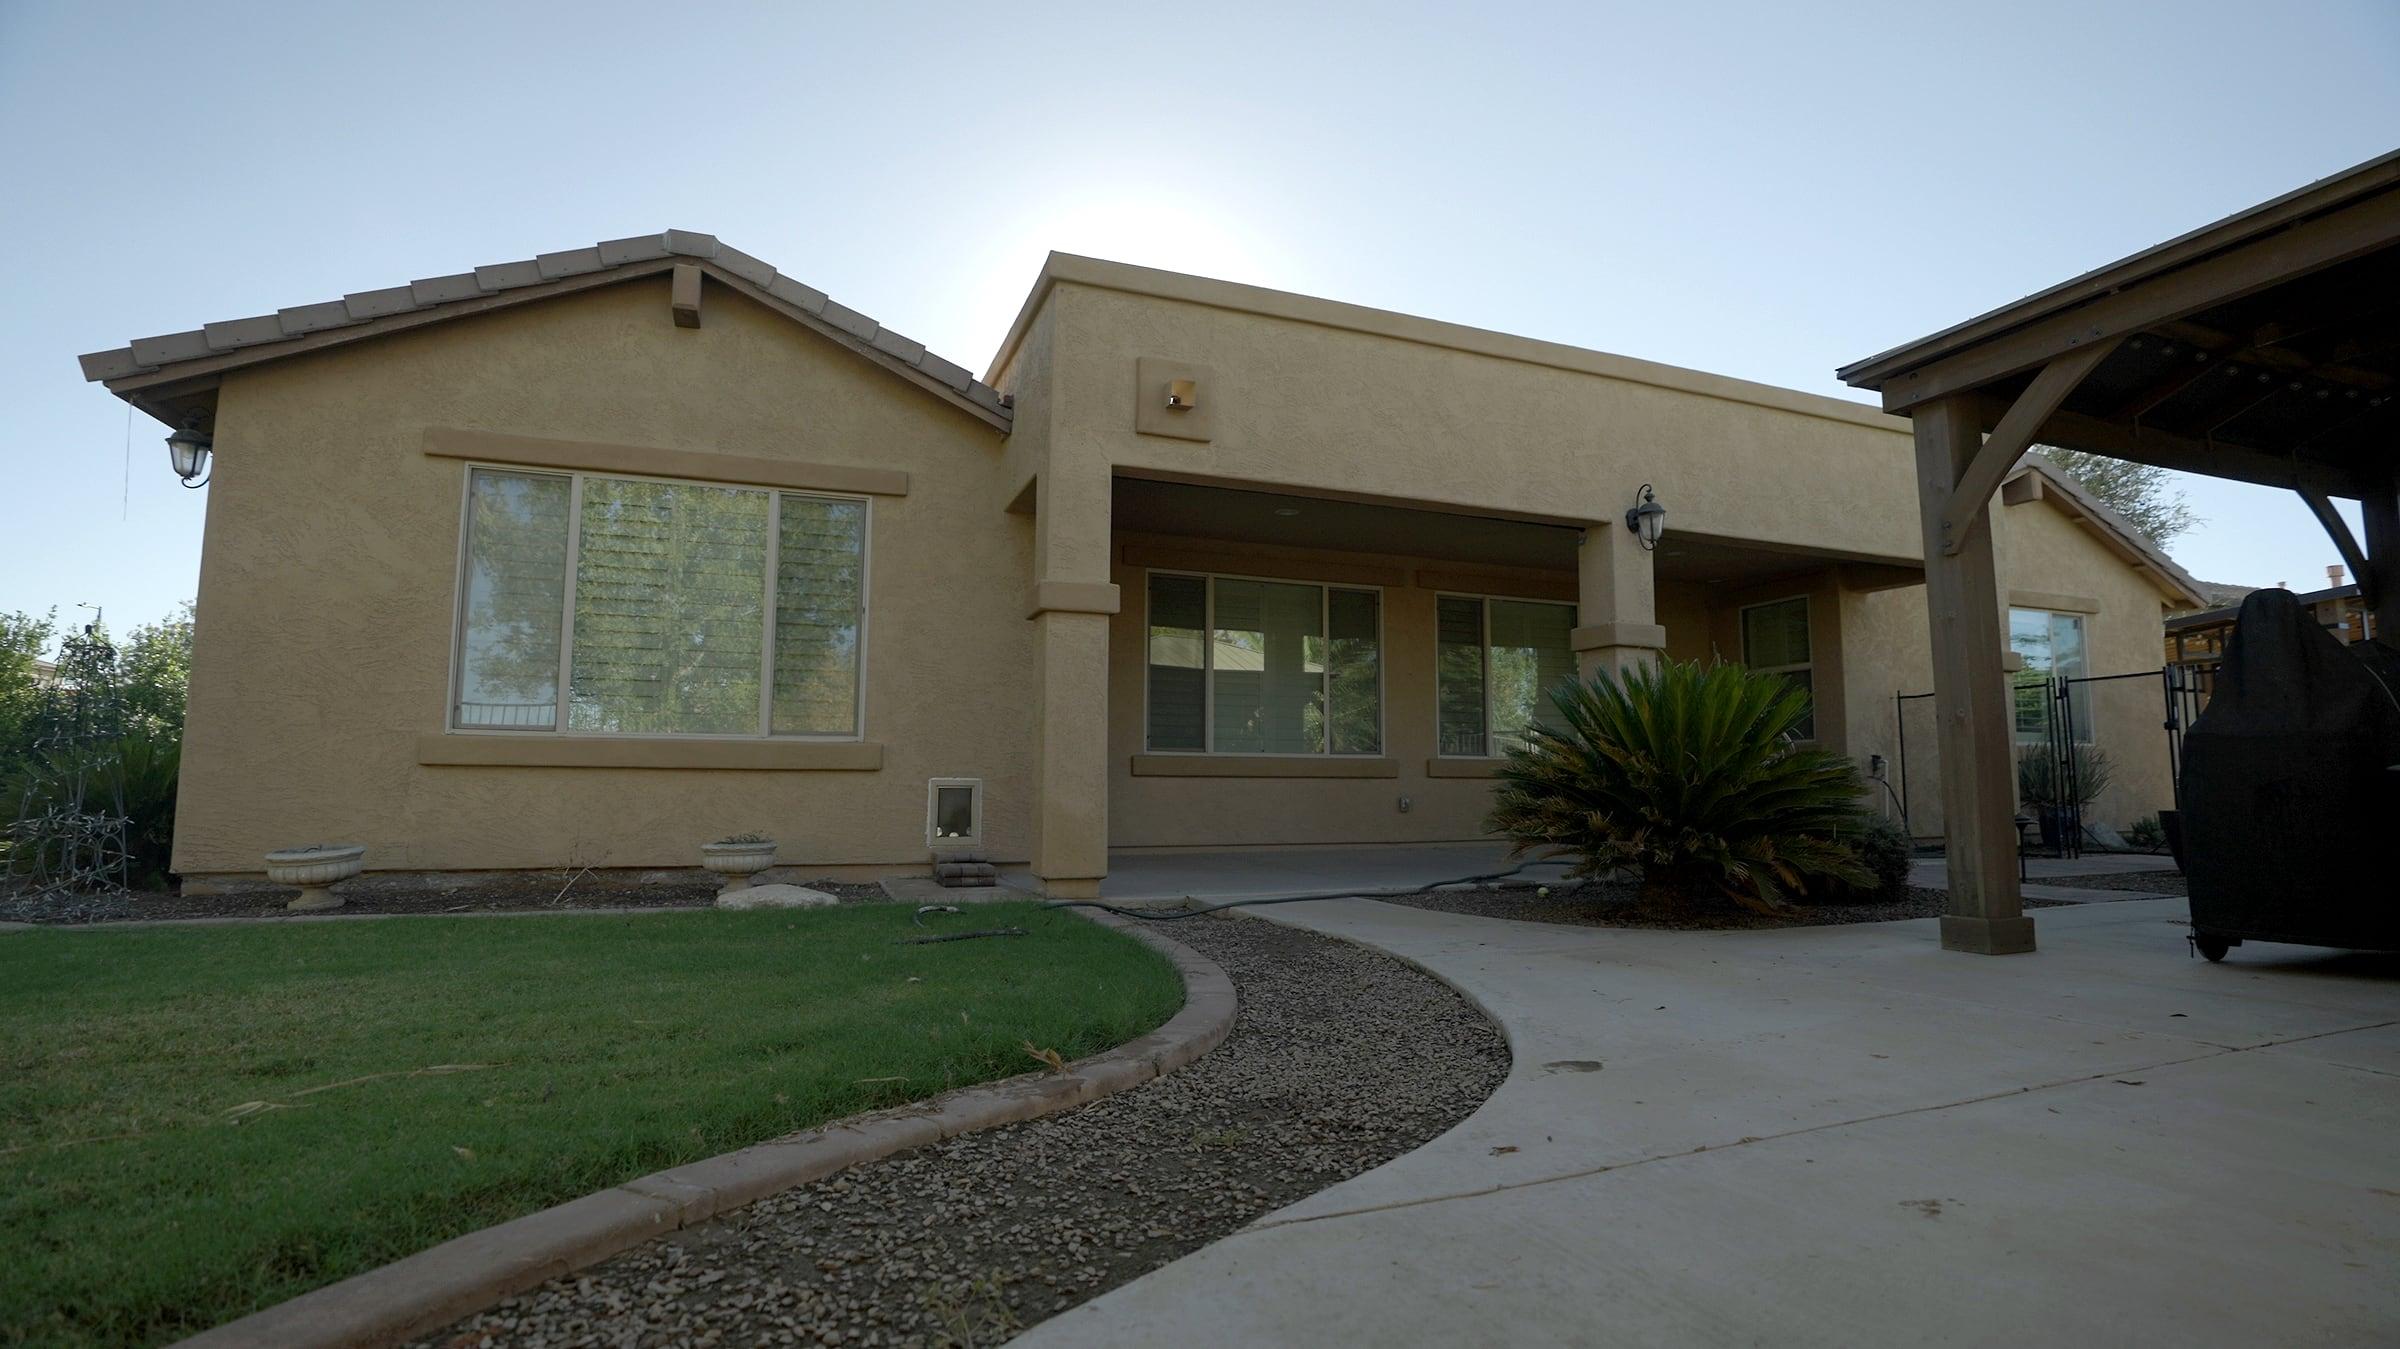
Spring is the perfect time to rejuvenate your home’s appearance with a fresh coat of paint. Proper preparation is crucial to ensure a smooth and long-lasting finish. At iPaintHomes, we specialize in interior and exterior painting services for existing homes. This comprehensive guide will walk you through the essential steps to prepare your home for a spring painting project, ensuring optimal results.
Assess Your Home’s Exterior
Before diving into the painting process, it’s important to evaluate the current condition of your home’s exterior.
Inspect for Damage
Walk around your property and look for signs of wear and tear, such as peeling paint, cracks, or rot. Addressing these issues beforehand will prevent further deterioration and ensure a solid foundation for the new paint.
Check for Mold and Mildew
Areas that are frequently exposed to moisture may develop mold or mildew. Clean these spots thoroughly to prevent them from affecting the new paint’s adhesion and longevity.
Clean the Surfaces
A clean surface is vital for proper paint adhesion.
Pressure Washing
Use a pressure washer to remove dirt, grime, and loose paint from the exterior surfaces. This method is efficient and prepares the surface for painting. Ensure the surface is completely dry before proceeding.
Hand Washing
For areas that are delicate or hard to reach with a pressure washer, use a scrub brush with mild detergent and water. Rinse thoroughly and allow the surfaces to dry.
Make Necessary Repairs
Addressing structural issues before painting is essential for a flawless finish.
Patch Holes and Cracks
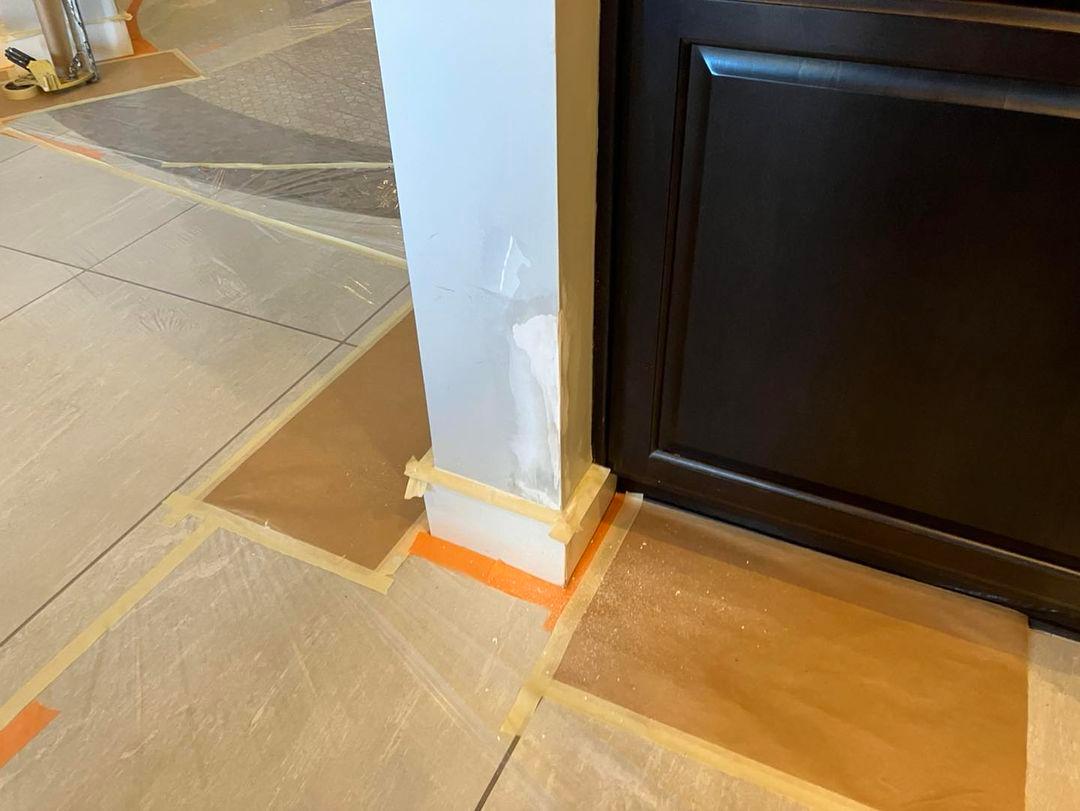
Use appropriate fillers to repair any holes or cracks in the siding or trim. Sand the patched areas smooth once they are dry.
Replace Damaged Wood
If you find any rotted or severely damaged wood, replace it to maintain the integrity of your home’s exterior.
Sand and Scrape
Remove loose or peeling paint by scraping and sanding the surfaces. This step ensures a smooth base for the new paint and helps with adhesion.
Protect Surrounding Areas
Safeguard areas that won’t be painted to avoid accidental splatters.
Cover Landscaping
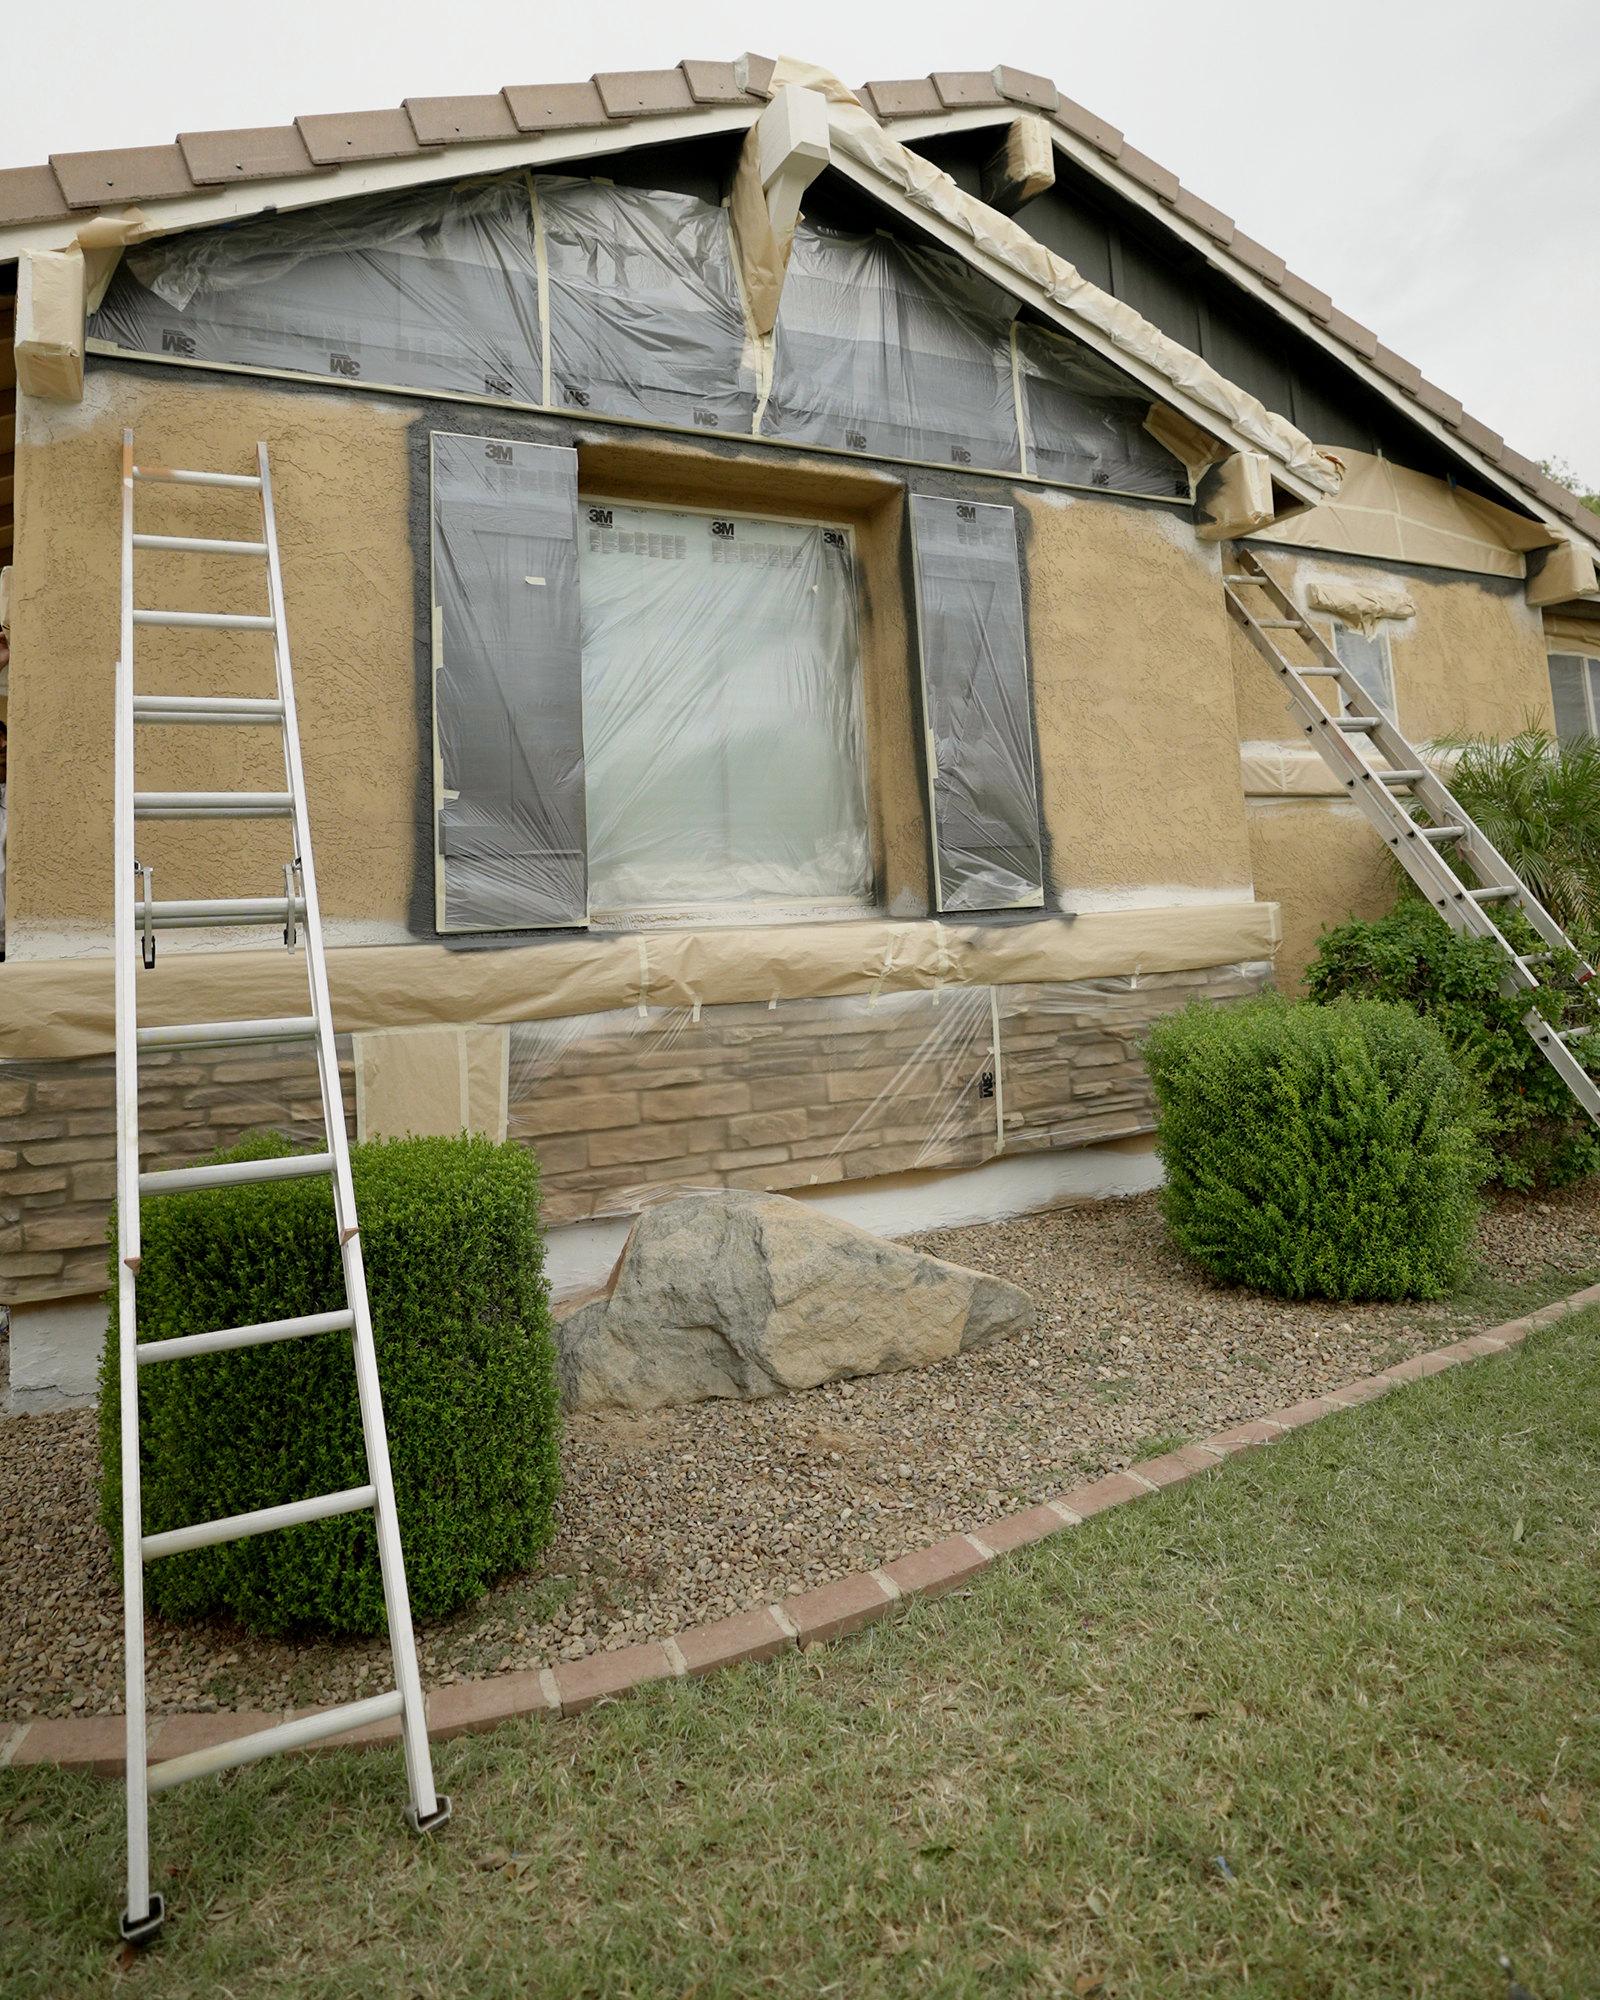
Use drop cloths or plastic sheeting to cover plants, shrubs, and other landscaping features near the painting area.
Tape Off Trim and Fixtures
Apply painter’s tape to windows, doors, and fixtures to protect them and achieve clean lines.
Choose the Right Paint and Tools
Selecting quality materials will contribute to the project’s success.
Select Appropriate Paint
Opt for high-quality exterior paint suitable for your home’s material and local climate. Consult with professionals if you’re unsure about the best options.
Gather Necessary Tools
Ensure you have all the required tools, including brushes, rollers, ladders, and safety equipment, before starting the project.
Plan for Optimal Weather Conditions
Spring offers favorable weather for painting, but it’s essential to choose the right day.
Check the Forecast
Aim for days with mild temperatures, low humidity, and no rain. Ideal conditions help the paint dry and cure properly.
Apply Primer if Necessary
If you’re making a significant color change or painting over bare surfaces, applying a primer will enhance paint adhesion and coverage.
Final Preparations
Before you begin painting, take a few final steps to ensure a smooth process.
Inform Household Members
Let everyone in your household know about the painting schedule to minimize disruptions.
Arrange for Pets
Keep pets away from the painting area to ensure their safety and prevent them from interfering with the work.
By following these steps, you can effectively prepare your home for a spring painting project, leading to a beautiful and durable finish. At iPaintHomes, we’re committed to helping you achieve the best results with our professional painting services.